Dance Mat Typing Level 1
Dance Mat Typing Level 1. Each of the three stages of this level will vastly aid in enhancing your typing skills. All you got to do is gear up your fingers and heed the instructions exhibited on the screen. As a whole, typing home row keys should become very easy for you after completing the first level. Soon you will become a proficient typer. Wondering how? Typing home row keys can promote your typing skill tremendously as it can make it easier for you to access the surrounding keys that you will be learning next..
Dance Mat Typing Level 1

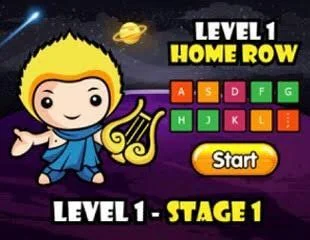
Dance Mat Typing Level 1 - Stage 1
Got your fingers warmed up and ready roll? Here we go Kids Mat Typing – Level 1 Stage 1 is going to test how hot you are on the middle row of keys (known as the home row) – think of it as a gentle...

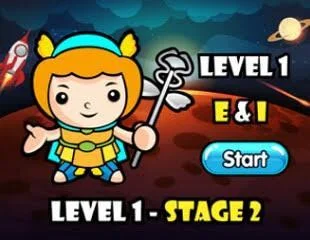
Dance Mat Typing Level 1 - Stage 2
it’s time to take on two extra letters in addition to the home row: E and I. Sound simple enough? Well before you get too carried away, this second stage is the first real test of ensuring both...

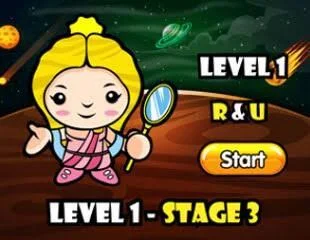
Dance Mat Typing Level 1 - Stage 3
Hold on tight and prepare to step your tapping up a gear – stage three will build on your now impressive typing skills by throwing in two more letters – R and U. How will you fare now that you have...
Mastering the Home Row with Dance Mat Typing Level 1
Dance Mat Typing Level 1 - Stage 1
Keys: f d s a j k l ; g h
Stage one starts off the beginning of the with the home row of the keyboard. The home row keys are the main or the center row of your keyboard. It is the row that begins with a, s, d, and ends with k, l, and the semi colon. However, they are ordered as per the position of your hands.
Your left hand fingers sit upon the letters f, d, s, and a whereas your right hand fingers sit upon j, k, l, and ;. Your thumbs hit the space bar when needed. The leftover over keys on the row, i.e. g and h are used by your pointer fingers. When needed, your left hand’s pointer finger switches from f to g and your left switches from j to h. This allows you to cover the keys in the home row. Then gets the user used to using these keys with the right fingers by asking you to type different words and letters. You can keep yourself updated throughout the level by the help of the “smashed records” bar that is placed on the bottom of the screen while going through Dance Mat Typing Lessons.
Dance Mat Typing Level 1 - Stage 2
Keys: e, i
The second stage takes you through to help you understand how to efficiently use two of the vowel, e and i. It begins with a brief review of typing on the home row and then gradually helps the user understand how to hit the e and i keys without removing their hands from the home row. The e key is operated by your left hand and the i is hit with your right. Your finger that is resting upon d moves from its position to hit e whenever it is needed. Similarly, the finger that rests on k moves from k to i whenever necessary. It is like shifting your fingers from f to g and j to h in Stage 1. Like Stage 1, this Stage takes the user through several easy, medium and hard tests of getting used to typing words with the letters e and i included. The lines you have typed and your progress with the letter e and then with the letter i is recorded on the track bar.
Dance Mat Typing Level 1 - Stage 3
Keys: r, u
The purpose of Dance Mat Typing Stage 3 is to help you learn how to use the r and u keys all the while maintaining your fingers on the home row and alternating fingers to get to e and i. This stage starts with a quick review of the home row letters as well as the e and i keys. The bar on the bottom has eggs that help you keep track of how far you have entered in the stage. The pointer fingers of your hands are used, much like in Stage 1, where you used them to press g and h respectively. This means that your right pointer controls f, g, and r whereas your left pointer finger controls j, h, and u. Your left hand abilities to press the r key are tested and your right hand abilities to press the u key are tested, and then the stage moves on to helping you use them simultaneously with both hands.
By the end of Stage 3 users will have a great understanding of how to control the home row, the two vowels e and i, and two extra letters, r and u. Mat Typing Games level 1 completed with three stages
